# How to Use (Legacy 5.1)
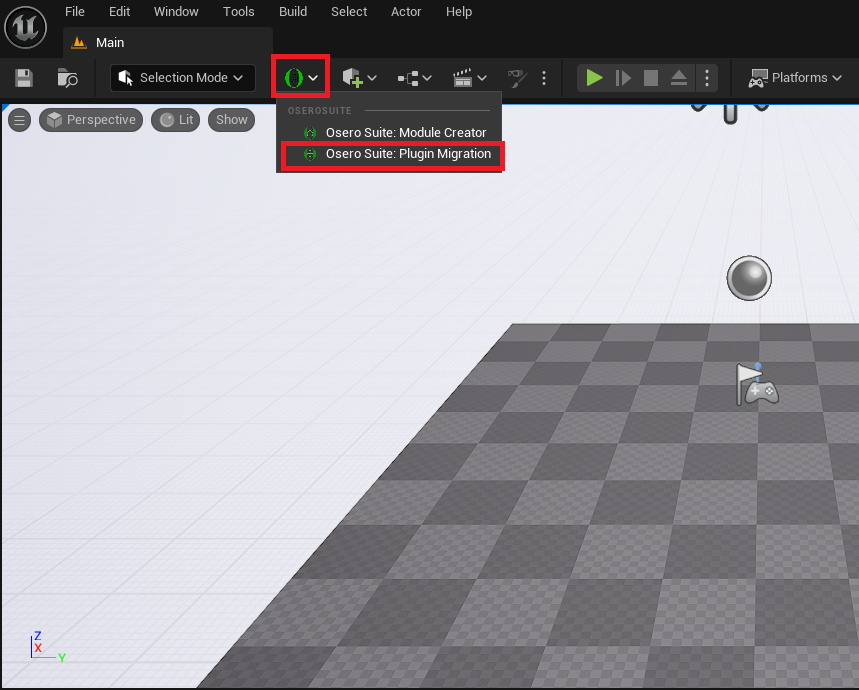
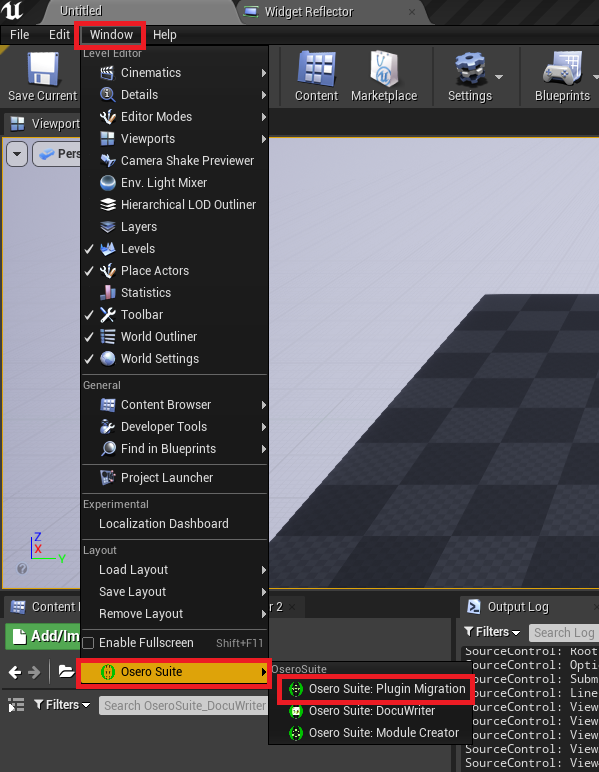
1. Open the tool via the Osero Suite Menu, or through Window > Osero Suite.
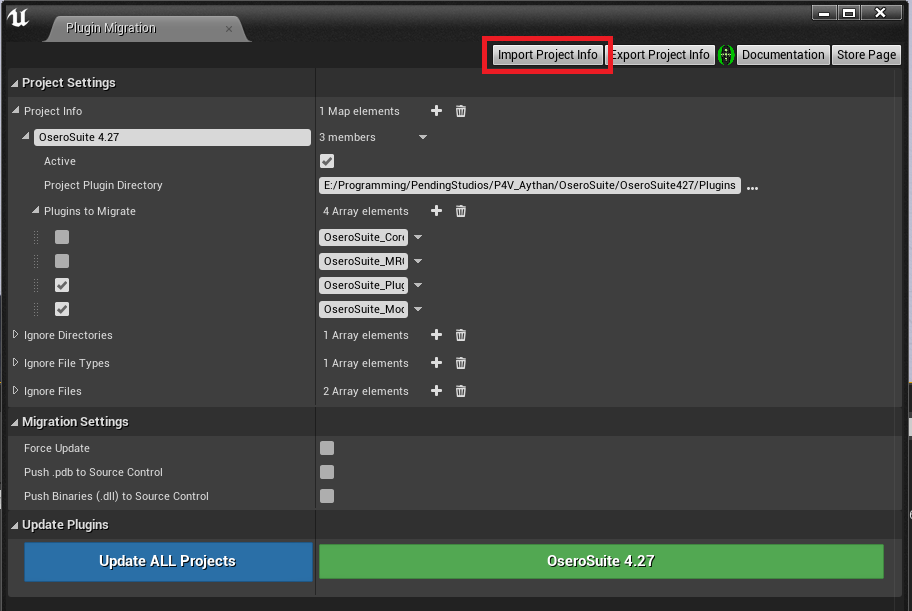
2\. Add a new destination project to the **Project Info** map. This will be the destination of where the selected plugins will be *copied to*.
3\. Fill out the project's information:
* **Project Label**: The label entered here does *not have to be the same as the destination uproject*. This is a user-friendly label set by you for your reference. It's just used to auto-generate a green button at the bottom of the UI to allow you to update that project specifically. Note: These labels MUST be unique (no two the same) or you will get an error when trying to add/edit a name.
* **Active**: If this is ticked, this project will be updated by the **Update ALL Projects** button. If not, it can only be updated via its individual green button.
* **Project Plugin Directory**: The full *absolute* path to the *Plugins* folder of the destination project to copy the files to.
* **Plugins to Migrate**: The names of the plugins to migrate *from this project* to the destination project. They can also be activated and deactivated with their tickbox.
4\. Fill out any other settings as required:
* Project Settings
* **Ignore Directories**: Directories within the plugin to ignore when copying to the destination project.
* Entries to this array must start with "/"
* By default, this includes the plugins' *Intermediate* directory.
* **Ignore File Types**: All files with these extensions will be ignored when copying to the destination project.
* Entries to this array must start with "."
* By default, this includes the ".exp" extension because it's usually an unneeded file type generated by UE's Live Coding.
* **Ignore Files**: All files with the text entered into this array in their name will be ignored when copying to the destination project. Eg, if an entry to this array has the text "foo", the file named "foobar.txt" will be ignored because it contains "foo" in the file name.
* By default, this includes "pingme.txt" and "patch" because these files are usually unneeded files generated by UE's Live Coding.
* Migration Settings
* **Force Update**: If this is ticked, the tool will ignore "last modified" timestamps and copy *every file* to the destination project. If it is unticked, only files that are newer in this project than the files in the target project will be copied.
* **Push .pdb to Source Control**: By default the Plugin Migration Tool will copy .pdb files to the destination project but not add them to source control. Pdb files contain the debugging symbols used in crash reports and by Visual Studio when working with breakpoints, and are created when compiling a code project. These files are usually quite large and often not needed to be added to source control. Tick this box to add them to source control when the files are copied.
* **Push Binaries (.dll) to Source Control**: Binary files (.dll) are the compiled libraries generated when code files are compiled. In most cases these files do not need to be pushed to source control because they get regenerated the next time a code plugin is compiled. HOWEVER, if you're copying from a code project to a Blueprint-only project, the binary files must be added to source control so that anyone who opens the Blueprint-only project can use the code plugin. Otherwise they will get an error when opening the project, which will force them to disable the plugin due to binaries being out of date.
5\. Click either **Update ALL Projects** or the **Project's Individual Green Button** to start the copying.
* For each selected project (in the case of *Update ALL Projects*, this is every project with *Active* ticked, and if a green button is pressed, it's JUST that one project), the tool will go through the *Plugins to Migrate* and compared all the files in this project's directory with all of the files in the destination project's Plugin Directory.
* If source control is enabled, the tool will then check out any files necessary in the destination project.
* The tool will then copy all relevant files (based on the settings) from this project to the destination project.
* The tool will then delete any files from the destination project that no longer exist in this project.
* The tool will then add any new files copied to source control.
**Note: There is no merging with this tool, it just straight up copies and replaces files from one location to another.**
#### Export Project Info
Clicking this button will export all of the information in **Project Info** to a .json file so that it can be imported into another project.
#### Import Project Info
Clicking this button will import a .json file that's been exported with the *Export Project Info* button to the **Project Info** map.